Jane asked me on Facebook about taking photo of the “supermoon” that occurred the other night.
I believe that the way to achieve this is with multiple exposures combined. This creates a “high dynamic range” or HDR as it’s known.
What happens is that if you are taking a photo of the moon, your camera (or you, if set to manual) exposes on the moon itself. The craters etc look nice but everything else in the photo goes very very dark. If the moon was over a town, for example the town would appear to be in darkness.
If you then adjust the camera to expose nicely on the town, then the moon ends up looking so bright it turns into a shiny white flare and loses all definition. Basically your camera is exposing on a small “range” of light, and what we want to achieve is two different ranges. One for the moon, and one for the town.. and that involves taking two photos.
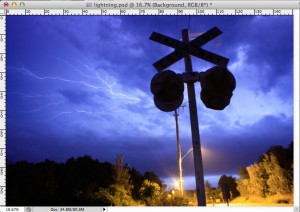
To illustrate the point here is a photo I took in the dark of some lightning. You need to take your photo with a tripod for this to work.

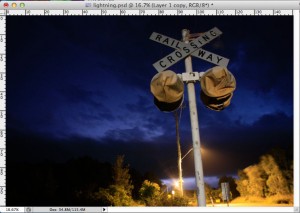
While I was taking these photos, I took another exposure while a car drove past the sign. This lit up the sign beautifully! Of course, in this photo we have the opposite problem… the sky is pitch black.

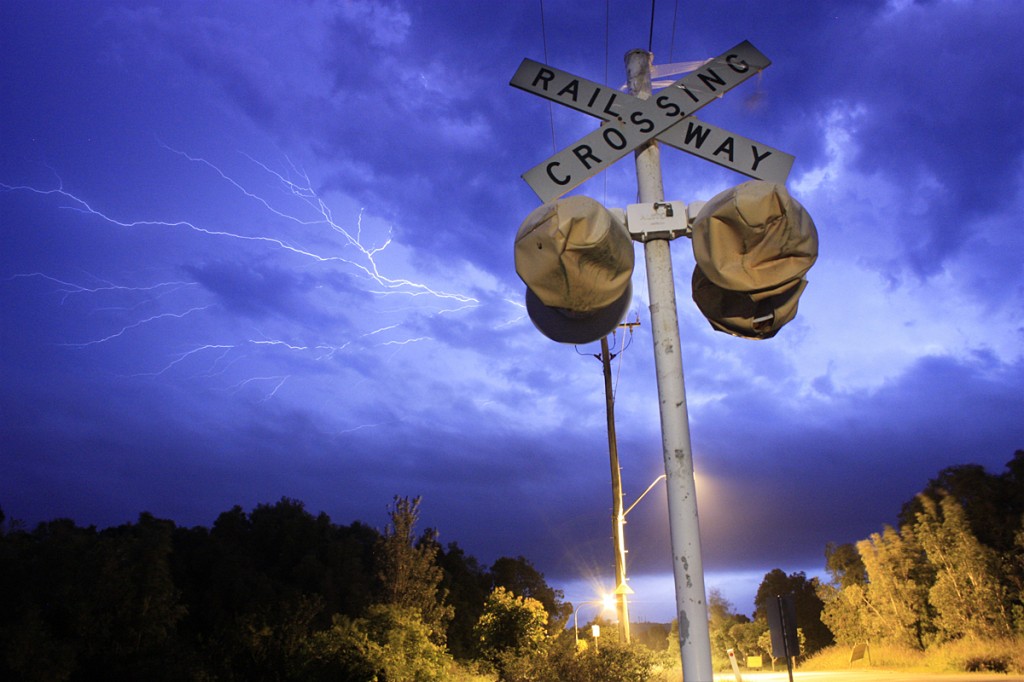
So what we need to is combine both of these photos, using the nicely exposed elements from each.
First, open them in photoshop and copy-paste one of them onto a new layer above the other.
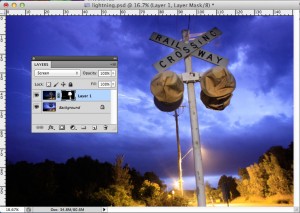
Then set the upper layer to “screen” blending ..
and create a layer mask with Layer -> Layer Mask -> Hide All.
This will turn the upper layer off, and allow us to “paint” it back in as we need to.

Now with the layer mask selected in your layers window, you can choose a brush of any size and feathering, and use black or white to “paint in” or “paint out” the upper layer.
In this case I painted the sign back in, with a nice feathered brush so the transition looks very natural. You can see the final black & white outline in the layers window of the screenshot.
That’s basically creating a HDR photo in photoshop! There are a number of other methods and automatic HDR tools in Photoshop but for something this straightforward it’s easy to do manually. Then you have full control over the layering and the blending and can adjust as required. This method also works well for landscapes where you can “paint in” the sky for a dramatic effect. Be careful of small details though like trees etc on the foreground that can be difficult to “paint” around with the layer mask.
Hope this helps with your HDR photography, give it a go and leave your work in the comments – we’d love to see them!


2 Comments.
Thankyou! Very interesting. I guess only the human eyes can see things in their true beauty naturally.
No problem … And you are right.. Our eyes have a much bigger range 🙂